Browse Category

Tutorials

Tutorials of things I learned and want to teach

Configurable Joints – Part 2

In the last tutorial, we learned about configurable joints, anchors, XYZ Motion, Angular XYZ Motion, Angular XYZ Limits, Target Rotation and Angular Velocity, as well as, Angular XYZ Drives.

In this lesson, we are going to learn how it works when connected to one or more other configurable joints to start to create a body. The final tutorial will go over configuring a rigged character and making it stand and balance. So let’s get started.

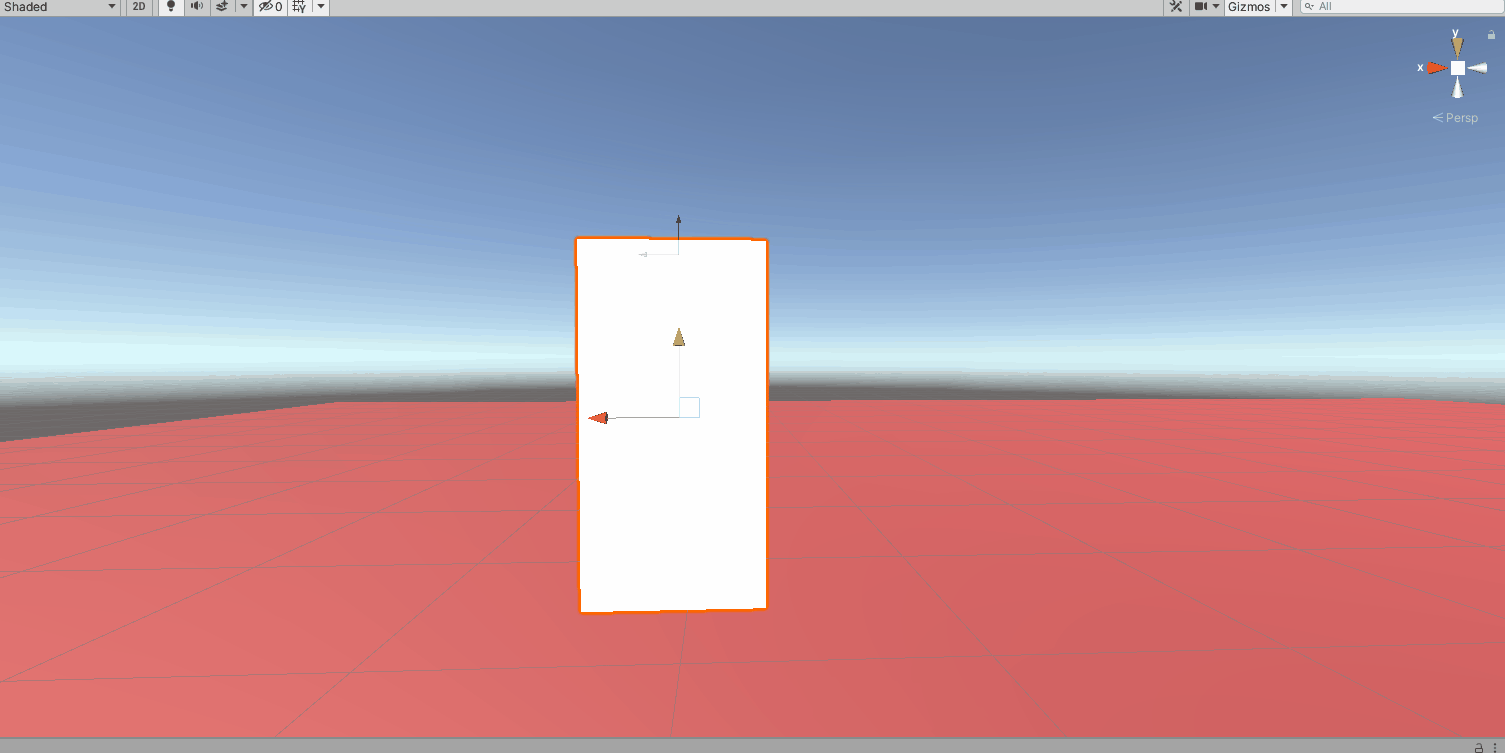
Rename our Cube to Forearm. Press Ctrl+D or right click and click duplicate. Rename this to Upper Arm and drag the green arrow directly up to look below. Leave a little space so we can see the rotations a bit better. If we just press play, the joints act like the aren’t connected and will both swing like how we set up our forearm.

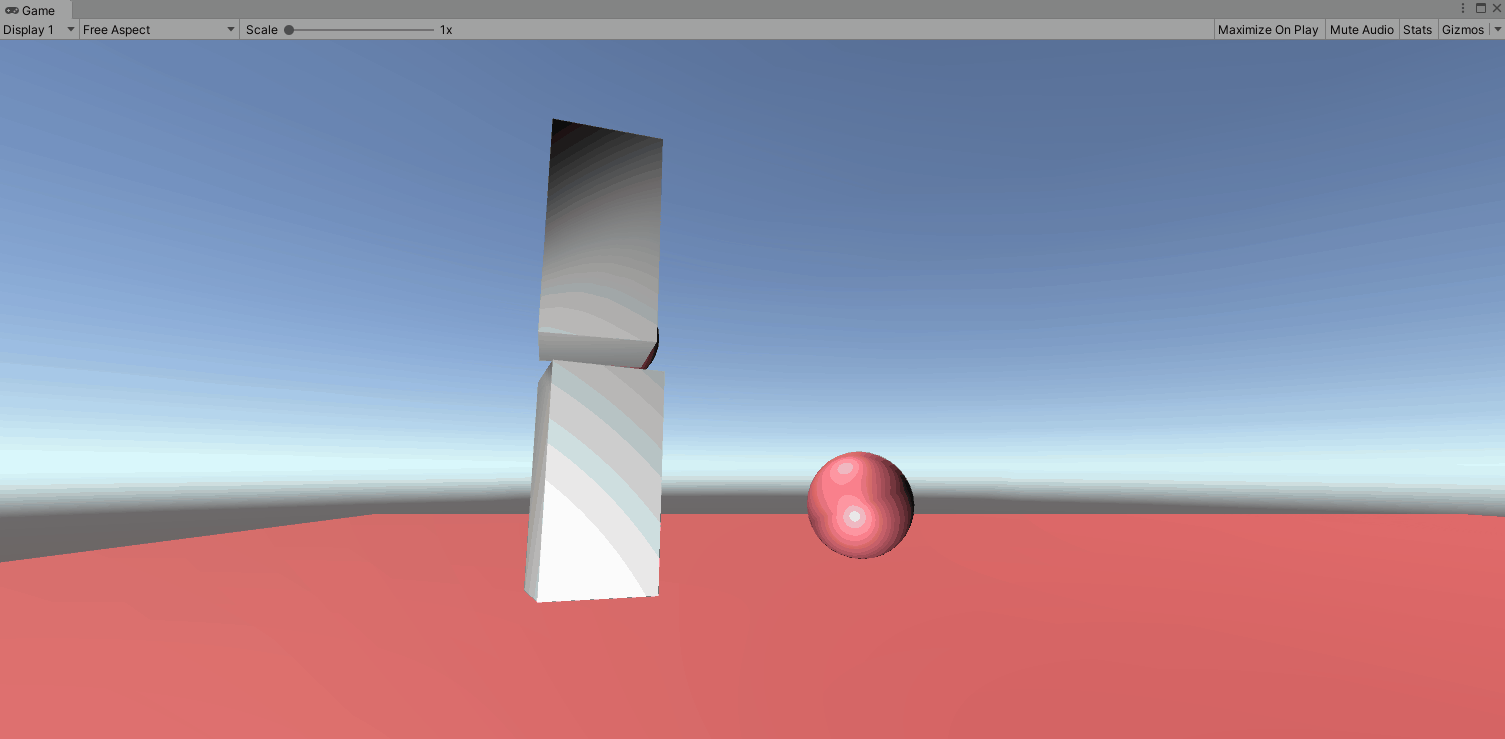
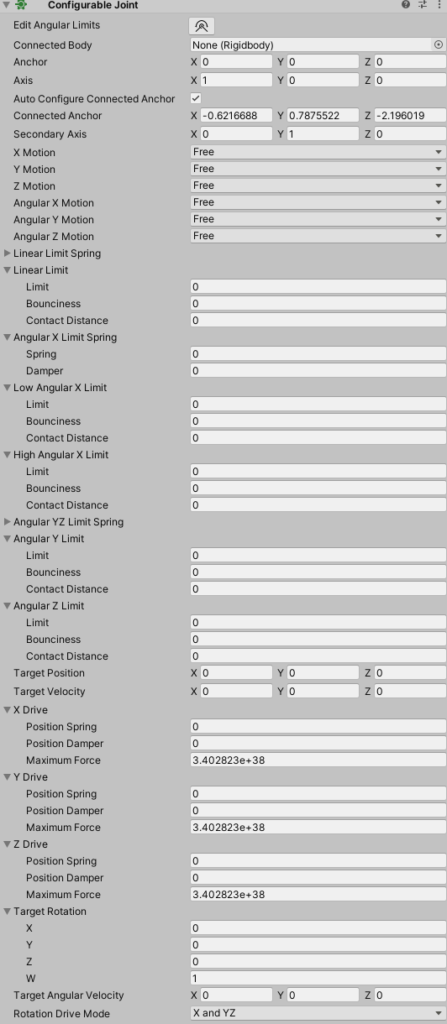
Next we are going to reset the configurable joint to our elbow. Right click the upper arm and click reset. First we want to lock the XY and Z motions as we don’t want it to move laterally. Next we want to look closer at the connected body. If we drag the ForeArm rigidbody to the Upper Arm we get the below. Not what we are going for. In this case it looks like the top of the forearm is connected to the top of the upperarm by an imaginary line. So they rotate around themselves. (for the purpose of this gif, i locked the Y and Z axis on the upperarm).

Keep Reading

Learning Configurable Joints

Good Day,
I am working on a VR project in Unity and wanted to learn more about Active Ragdoll physics. With this the idea is a character is always able to be affected by gravity and external forces. I found some cool people doing the same (MetalCore999, RedStoneBR and DavidKim). They all use something called configurable joints in unity to achieve this affect. Naturally I wanted to know more, and started looking around. The unity manual has some ok documentation, but not enough to do what we want. Even other pages have some decent additional information, but still not quite what I was looking for. So my purpose is to understand what the different settings do and to capture animations of these changes so I (and perhaps we), can better understand configurable joints as it pertains to active ragdoll.

Getting Started

To get started, we open up a new unity project. I added a plane and extended the scale by setting the values to (10,1,10). I then added a lighter red material to the plane. I added a sphere and added a rigid body and unclicked both use gravity. I kept the mass at 1 and set scale to (.5,.5,.5). This sphere will be our collider to help determine what is happening.

Configurable Joint in Unity empty settings

We then add a cube. I set the scale to (0.5,1,0.5) to better represent an arm. This will be our forearm. In the inspector, add a configurable joint to the cube. It should look like this. There is a lot here and easy to get overwhelmed. So let’s try and understand some more. If we press play game, our cube will fall straight to the ground.

This might be a good time to talk about axes. From the perspective of the cube looking at the camera. The Y axis is up (+) and down (-). The X axis is left (-) and right (+) and the Z axis if forward (+) and back (-). These are important to have a base understanding of. So if we look at our configurable joint, we see X,Y,Z motion and Angular X,Y,Z motion. Since our cube is falling down due to gravity, what happens if we adjust the Y motion from Free to Locked. As you can see below, it stops movement downwards, but if we hit it with a sphere it topples over. This is because it is allowed to rotate (on the Z in this case) and then the X axis gets affected by gravity and its falls down.

Keep Reading